spacex
![]()
![]()
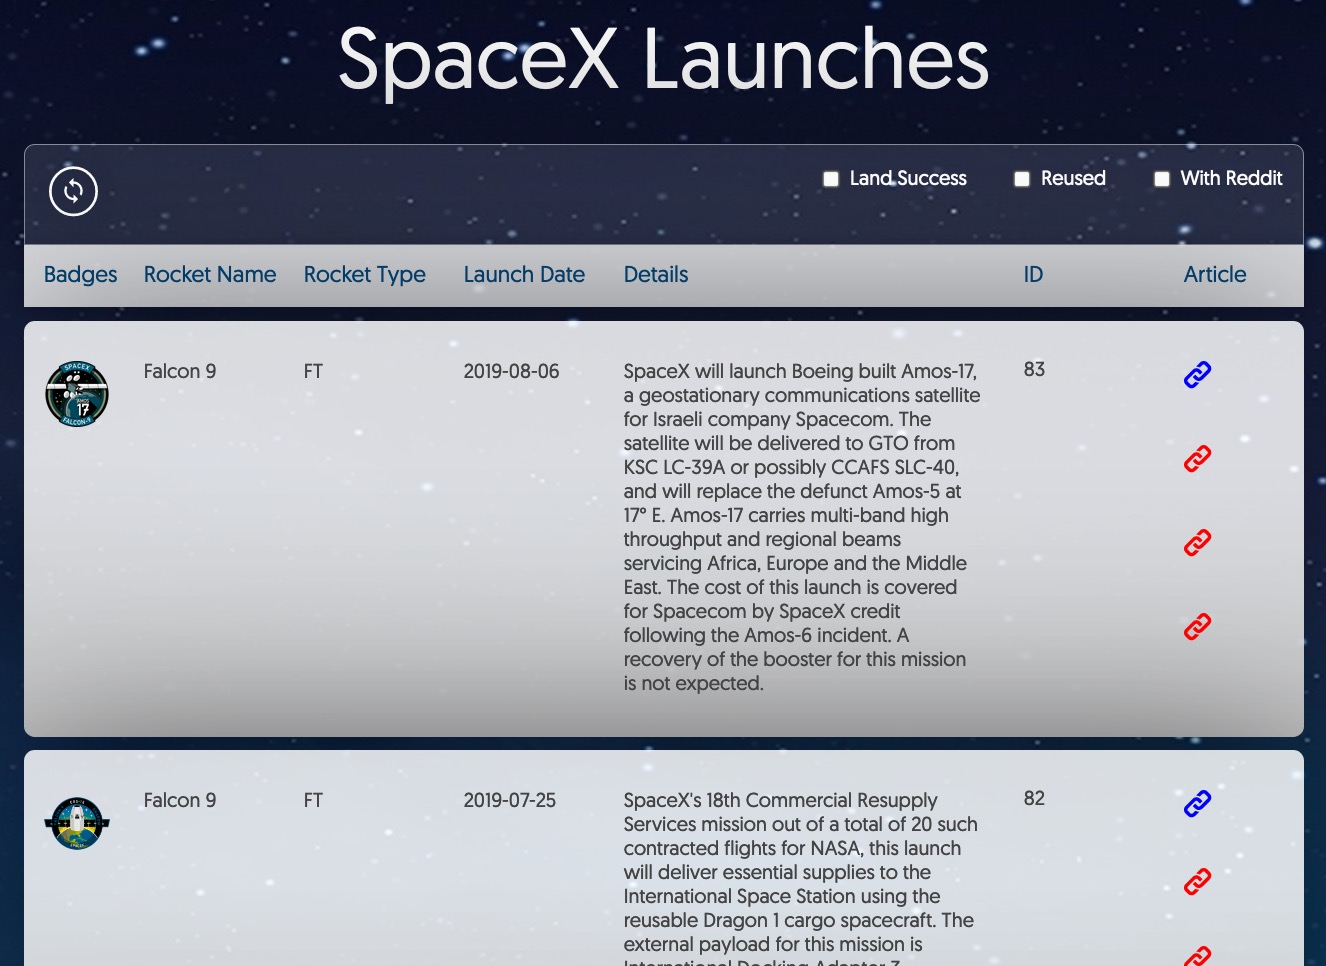
Live Demo
Check it out live on Heroku: https://spacexflights.herokuapp.com/
App Spec
Read the original app specification here: ASSIGNMENT.md
Getting Started
Requirements
- PostgreSQL or Docker (depending which method you choose)
Method #1: Running Rails on your machine
- Clone this repo to your local machine:
```shell script git clone https://github.com/patrickclery/amazon-asin.git
2. From the command-line, cd into the directory:

```shell script
cd spacex
If you are using rvm_autoupdate_flag=1 in your ~/.rvmrc, this will automatically install Ruby 2.6.5. Otherwise, run it manually:
```shell script rvm install
_Note: Using RVM is optional, just make sure you have Ruby 2.6.5 available._

3. Run the setup script. This does several things:
- Installs bundler (if necessary)
- Installs the required ruby gems
- Prepares your database
- Seeds your database

```shell script
bin/setup
Method #2: Docker
- Fire up Docker on your local machine
- Run this command to build and deploy the app:
shell script
docker-compose --env-file=.env up
Note: .env is generated by bin/setup but you can create one using the sample .env.sample
- Be sure that your Docker container publishes port 3000 (manually required).
Method A: Running the Rails server on your system.
-
Fork the repo.
-
Run the setup script.
shell script
 bin/setup
This does several things:- Installs the required ruby gems and JavaScript packages.
- Prepares your database:
- Creates the databases
- Seeds the data
- Creates a .env file with default settings
-
Open the app in your browser by navigating to http://localhost:3000/
Method B: Docker
- Fire up Docker on your local machine
-
Run this command to build and deploy the app:
shell script
 docker-compose --env-file=.env up
Note: .env is generated by
bin/setupbut you can create one using the sample .env.sample -
Be sure that your Docker container publishes port 3000 (manually required).
- Open the app in your browser by navigating to http://localhost:3000/
Method C: Deploy to Heroku (in a Docker container)
-
Install heroku CLI on MacOS:
shell script brew tap heroku/brew && brew install heroku -
Deploy the app on Heroku (this requires a heroku.com account.) You will want to enable “Automatic Deploys” for your master branch.
shell script heroku git:remote -a your-heroku-subdomain-goes-here heroku stack:set container git push heroku master -
The app should be up & running on your Heroku subdomain. If not, you can debug any errors by checking the build long (under the “Activity” tab on Heroku), or tailing the logs:
shell script
 heroku logs --tail
Features
- GitHub Actions
- Docker images published on every commit to master branch (@via docker build-push-action)
- RSpec tests run on every push
- Dockerization
- Heroku Deployment (using the Docker configuration)
What is included?
These gems are added to the standard Rails stack
- Core
- better_errors – useful error pages with interactive stack traces
- fast_jsonapi – a JSON serializer that follows the standards of Google’s JSON:API
- react-rails – combines Rails + React + Webpacker. comes setup with a default App component at /
- rubocop – enforces Ruby code style
- Security
- brakeman – detect security vulnerabilities
- Testing